
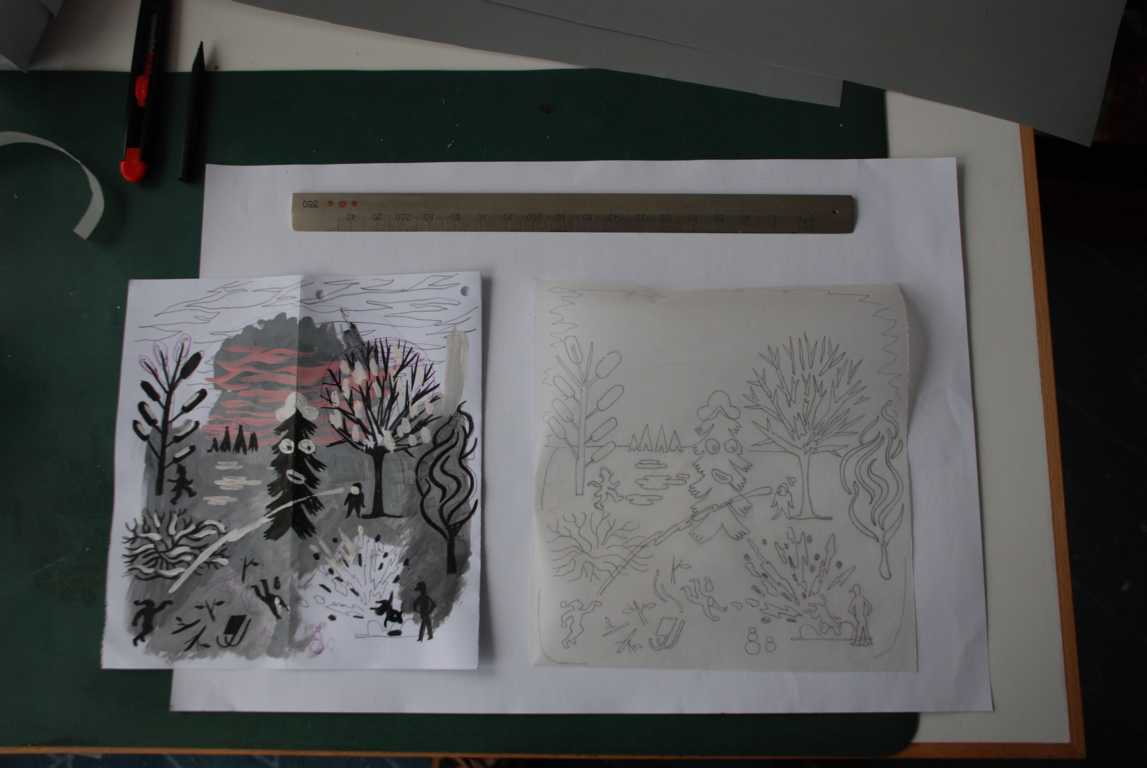
On the left side is the concept sketch for the print. I am tracing the final outlines on one piece of vellum paper.

Because I am using sticky plastic foil as stencil material, I can just flip over the vellum and rub the pencil onto the sticky foil. I will get the mirrored outlines that I cut with a sharp knife. Here is the grey stencil foil for the second-color-layer. In this image, you see the white holes of the stencil where I have taken out the parts that will print.

On the left the stencil for the third/black layer. I usually cut shapes with the x-acto knife. Thus, it takes two parallel cuts in order to make one line. I found out that you can create lines in one single stroke using woodcut tools like the above.
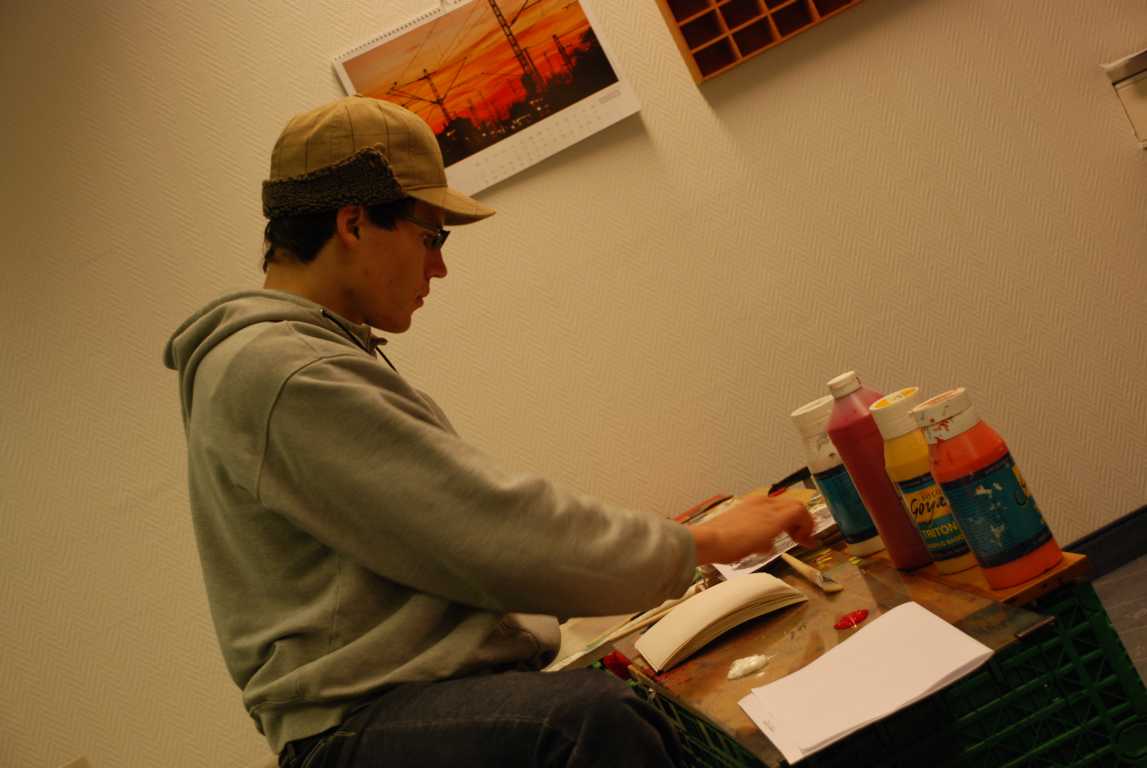
I am preparing the printing table and mixing the ink. I usually use acrylic or goache paint mixed with a screenprinting paste that serves as a drying retarder. It's really tricky to keep your screen from encrusting when working with water-based inks. They tend to dry quickly. Goache, however, is water soluble and can be removed even if it is dry.

Because the first/peach layer is rather simple, I skipped printing it - I just painted the shape with a paintbrush.

I peal off the sticky foil from the transfer paper and stick it onto my screen from the bottom side. That mirrors the image again so that it is in the right position now. The screen in this photo is self-made. I used regular wooden bars that I sealed up with latex paint. That keeps the wood to suck water and bend during the washing process. For the mesh, I used a cheap nylon curtain and a power stapler to attach.

One paper card brought into positi0n using registration marks.

Applying the grey ink...


Spreading the ink evenly over all printing parts...


The good thing about quick-drying ink is that you can soon print the next color.

Here, I am getting ready to print the black layer. I roughly set up the screen frame...

and lay the stencil foil on the working surface, sticky side up.

If I now move down the screen, the stencil will stick to the target area of the screen.

Apart from registration marks, another method for easy registration is a sheet of acetate:
You tape it to the working top on one side and print on it one time. Now, the paper can be brought into position underneath the acetate. Before printing, just turn over the acetate to the left.

One more color to go...

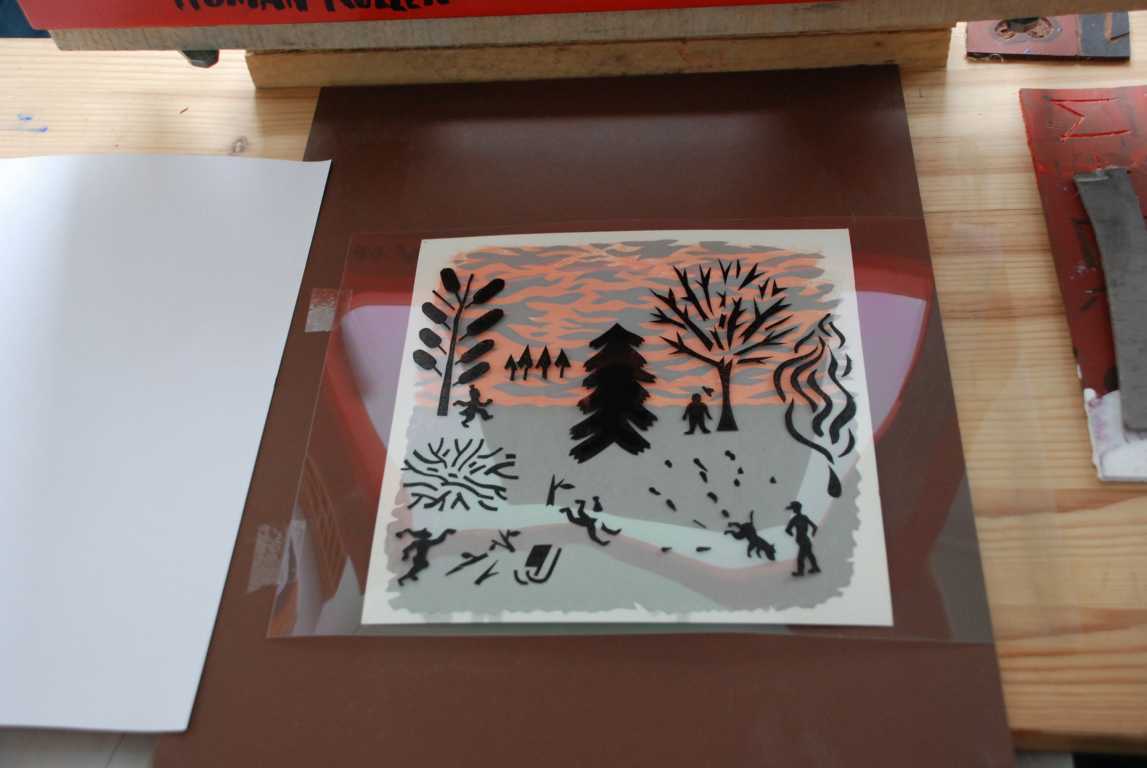
Done! The final print with four colors.

For cleaning the screen, I am using a garden sprayer. It has a handle to pump. The pressure is enough to wash out the mesh. The water is cought in a tub.

Because there are no chemicals involved, dirt water can be disposed of easily and the air stays fresh.
Here are some resources about self-made screenprinting:
Mark from expert village
morethanfunctional.org
screenprintingguy.com

Keine Kommentare:
Kommentar veröffentlichen